Several years ago the website Design Boom reached out to designers around the world to come up with the ultimate homeless pushcart.
The common grocery cart is great for toting stuff around, but it lacks, amongst other things, a place to sleep. Some of the designers made great
computer renderings while others made nice models. Only a few made a real mock-up of their idea.
I missed out on the competition but I had ideas of my own that I wanted to see come to life. The following is what I came up with.
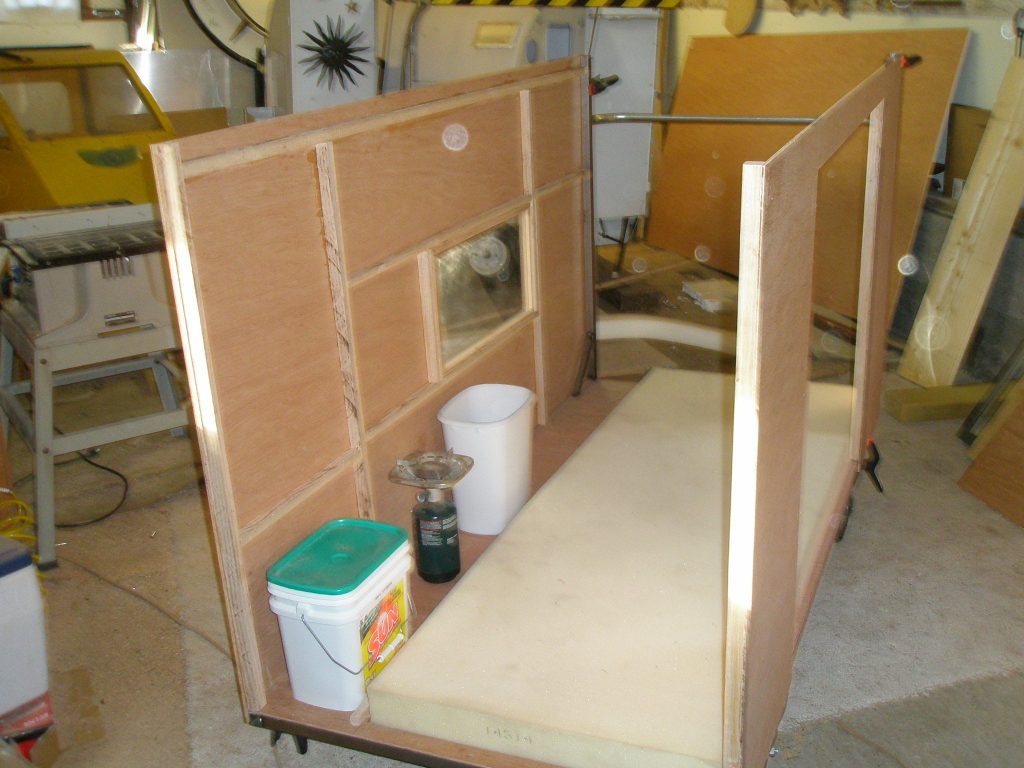
After many drawings I decided to build a mock-up of my idea using cheap paneling and an old door. The wheels came from Harbor Freight.
This allowed me to test out the practicality and feel of the interior space. Thank goodness I made this because many changes were made.
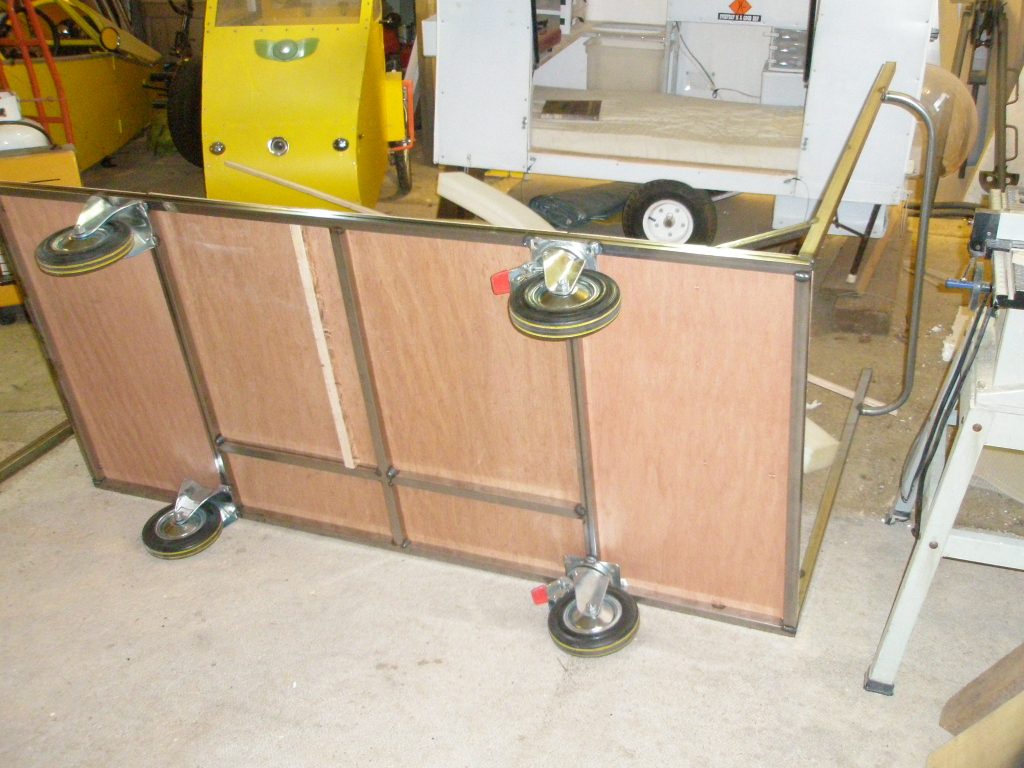
The base frame was made of 1″ box steel. The wheels were brought in for easier maneuverability.
Most of the 1″ or so framing was cut from 2×4’s on my table saw, then glued and attached with brad nails. Here I’m still deciding on the interior layout.
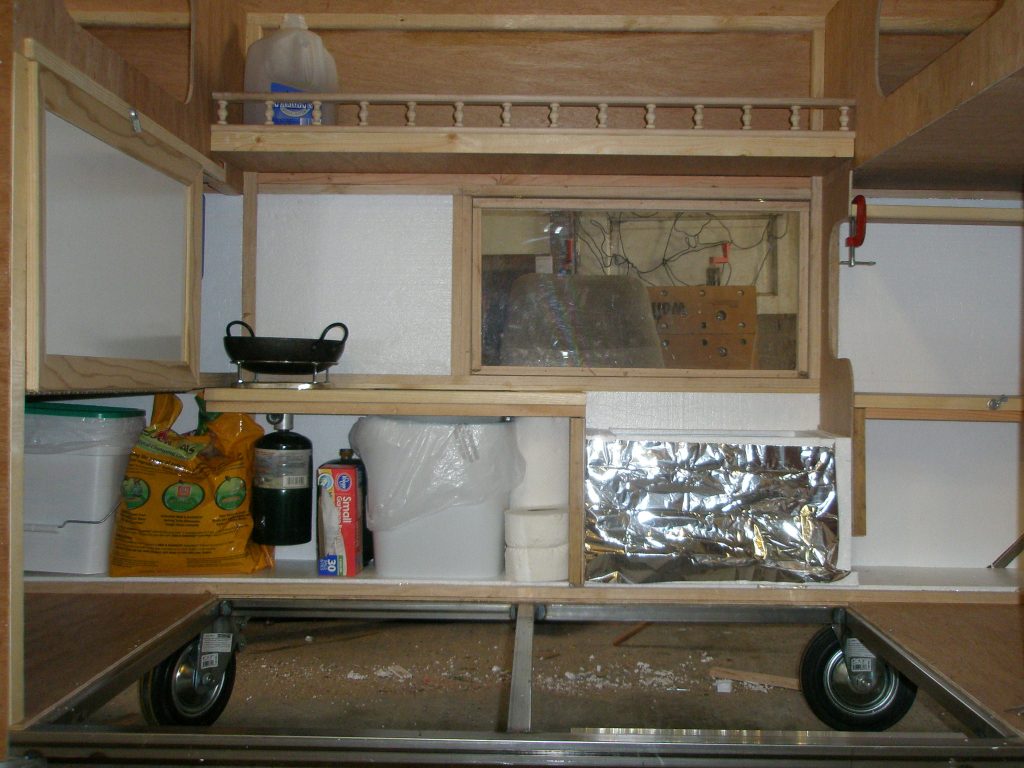
From left, toilet, kitty litter, propane stove, trash can liner, extra propane, trash can, (sink above) extra paper towel and toilet paper and a built in cooler.
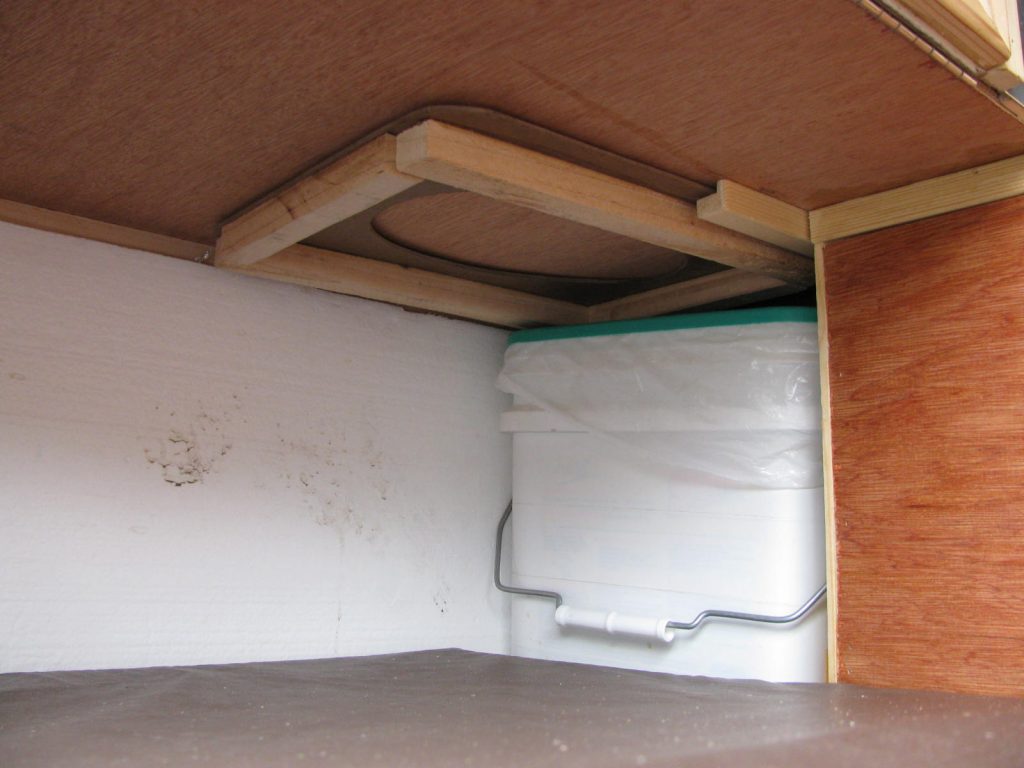
The toilet seat stored above the toilet bucket. Kitty litter was used as the absorbent. It worked pretty well and kept the odors contained.
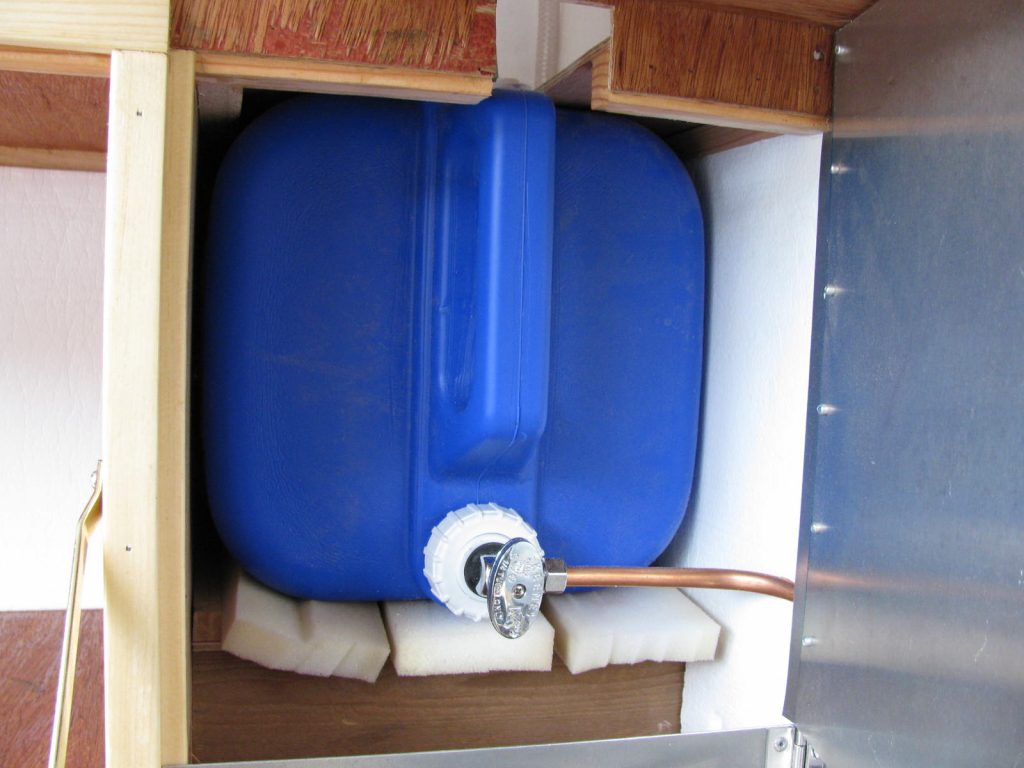
The 5 gallon water jug sits in the corner. I had it plumed to the faucet located above the removable bread pan sink.
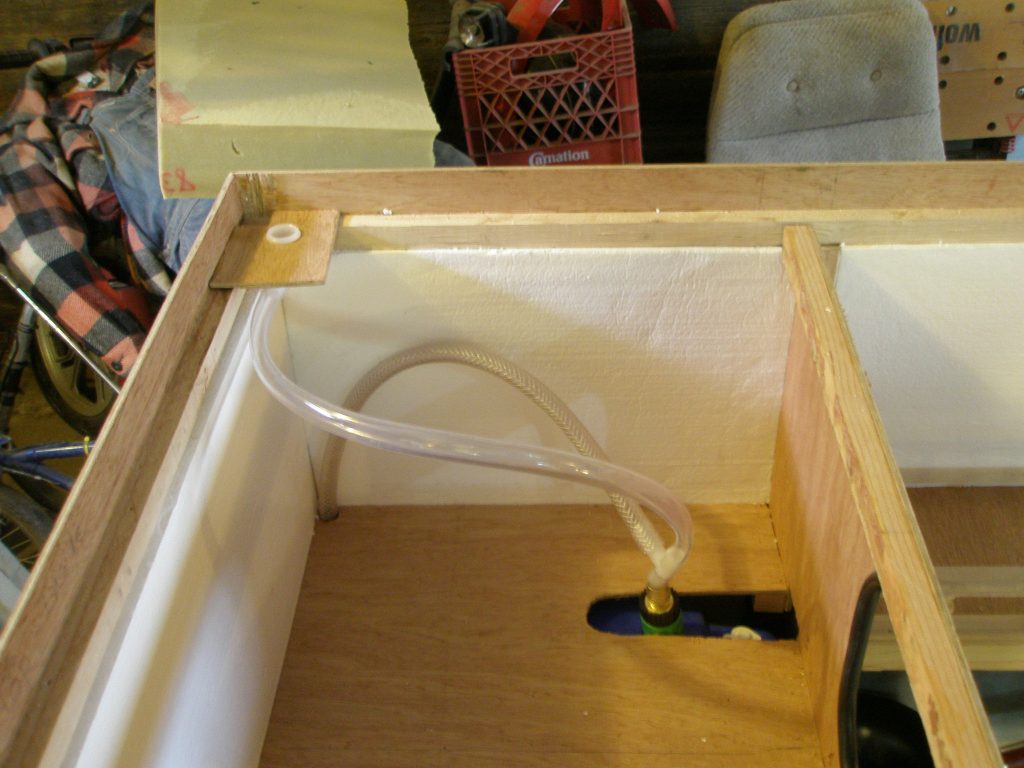
I had visions of collecting rain water for taking showers or washing dishes, or just removing the jug and filling it with a hose or faucet. Later I added a water filter.
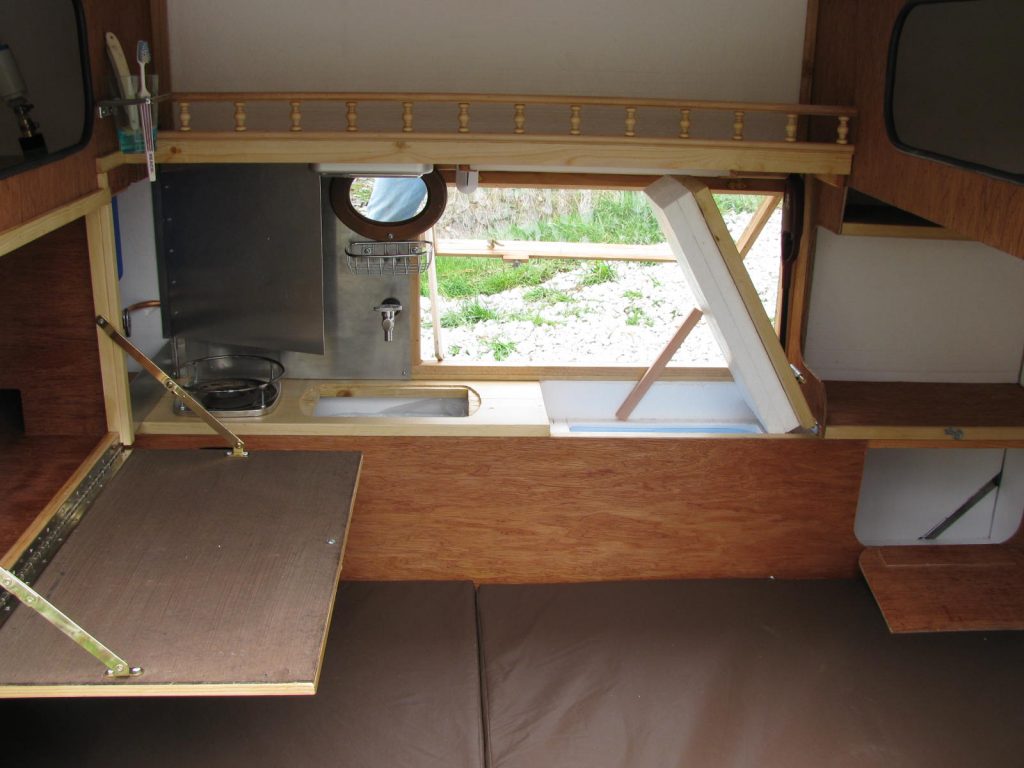
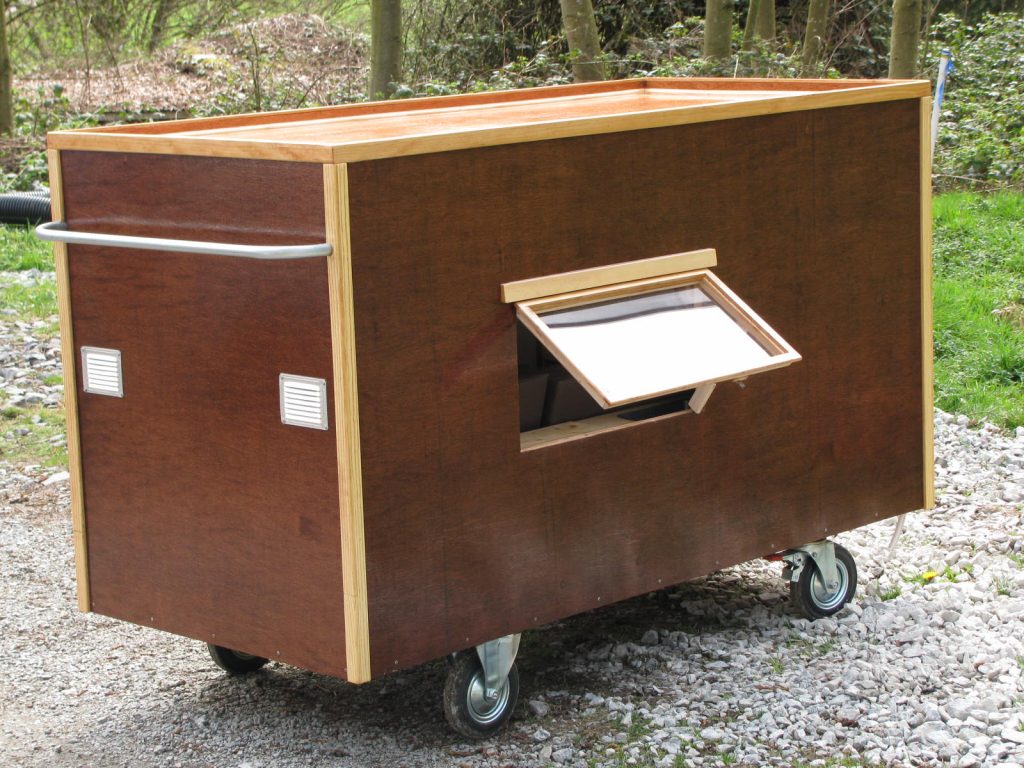
From left, the hatch that turns into a table top, the water jug access door, the cooler door, window and laundry door in the open position.
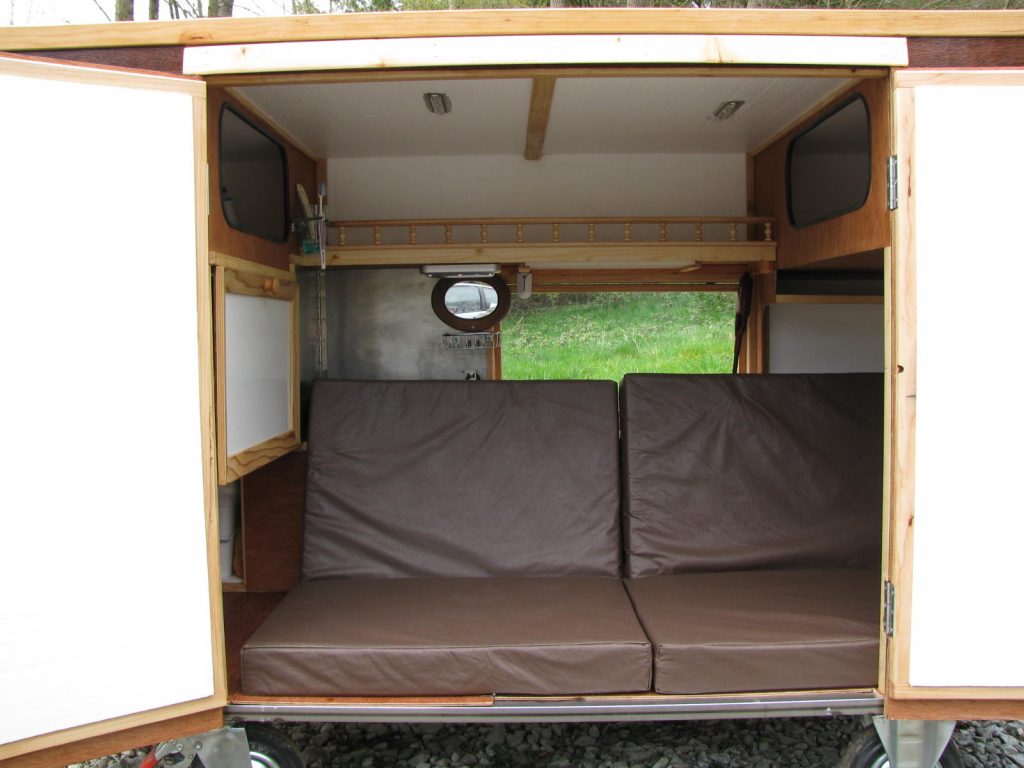
The 3″ thick foam pads were apholstered and sectioned so they could be moved in several configurations.
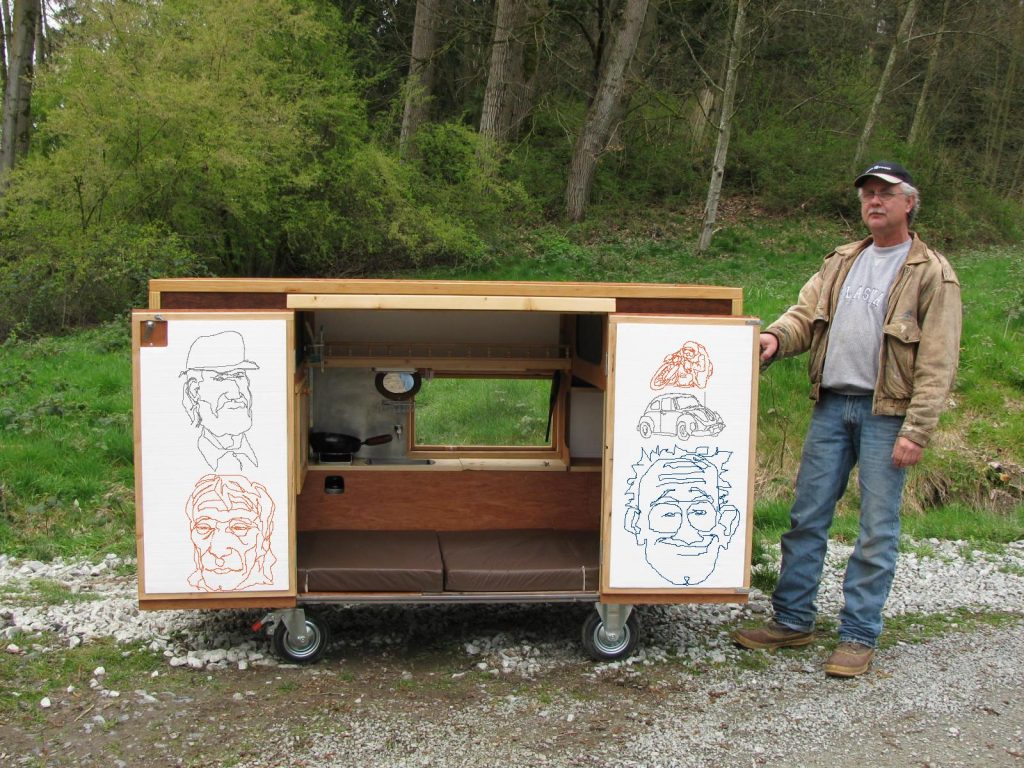
Not all homeless folk are beggars or tin-can collectors. Some homeless folks are crafty.
I chose to have the doors swing out so a person could show their wares to people walking by. Here I’m showing wire sculptures, something I use to do.
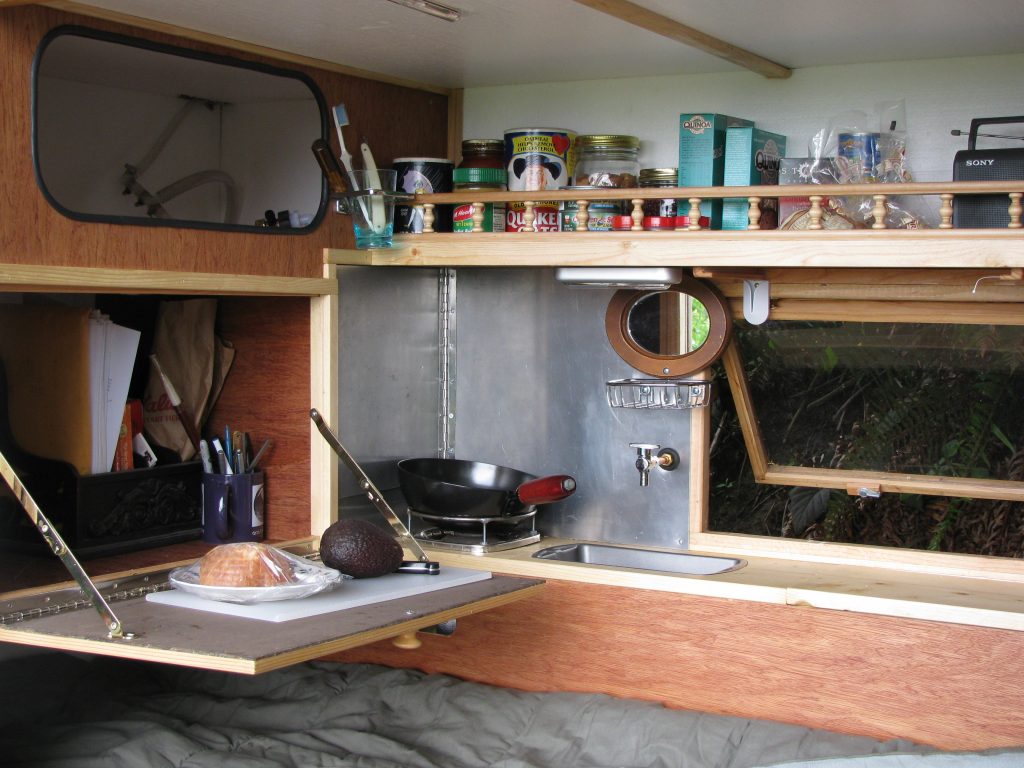
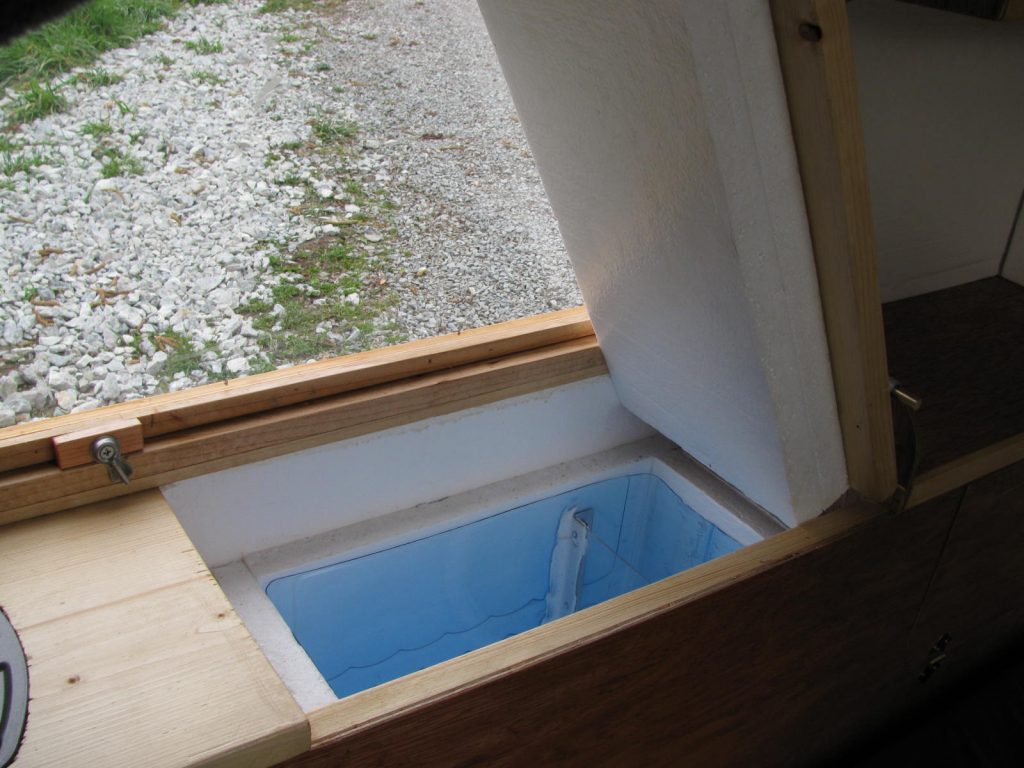
The food cooler was made with a 2-1/2 gallon water dispenser. I lined it with 2″ foam. The small compartment on the right was designed to hold a cup of ice,
something a homeless person might get for free at a fast food outlet.

The spigot on the cooler was taped open, draining the melted ice into a funnel connected to a drain hose. This view shows the interior of the clothes hamper.

Cutting board storage. I loved figuring out and making these little details.

A place to store papers, books or whatever.
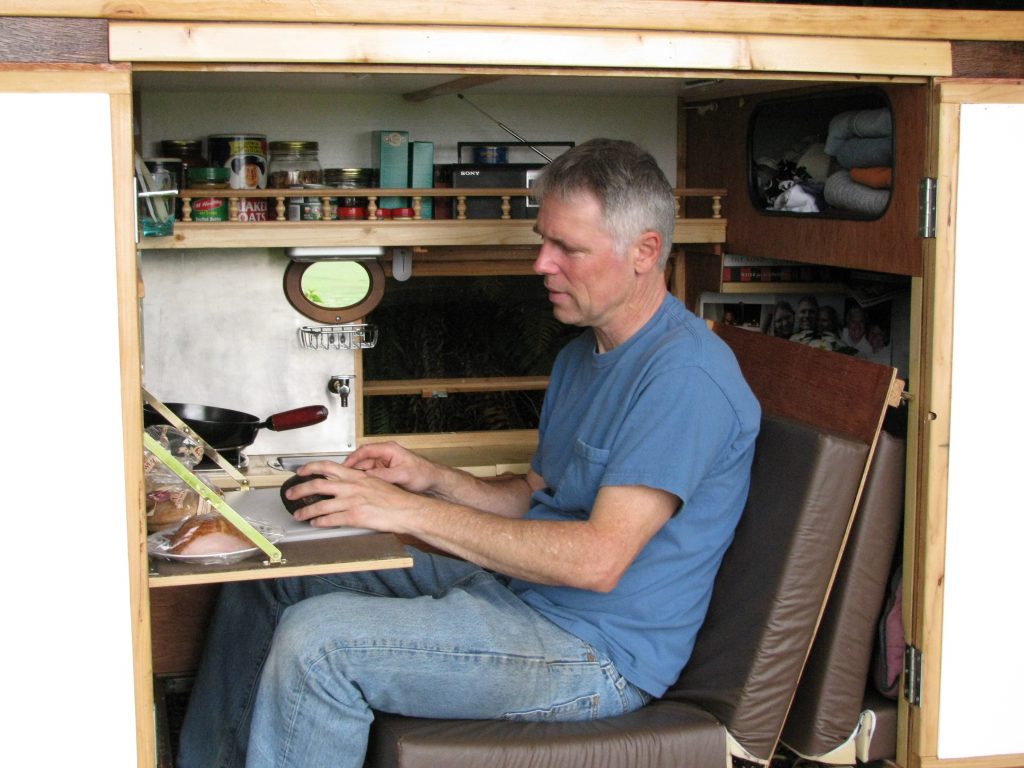
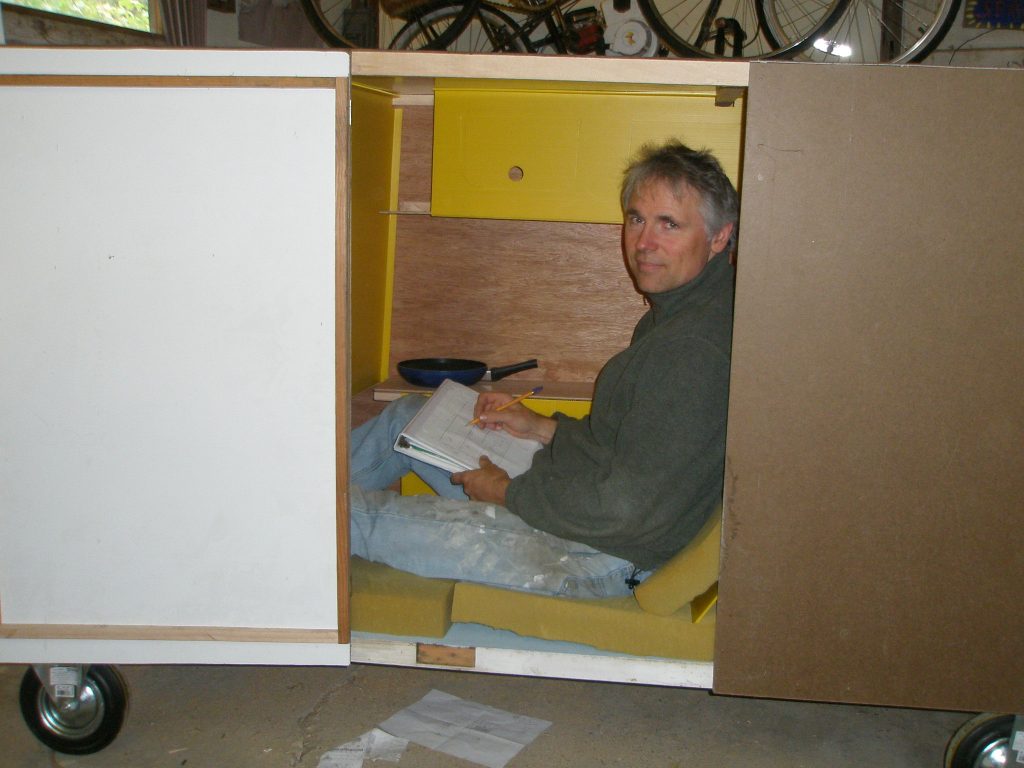
Here I have the seat in the upright position. The removable floor acts as the backrest and also allowed your feet to rest on the ground.
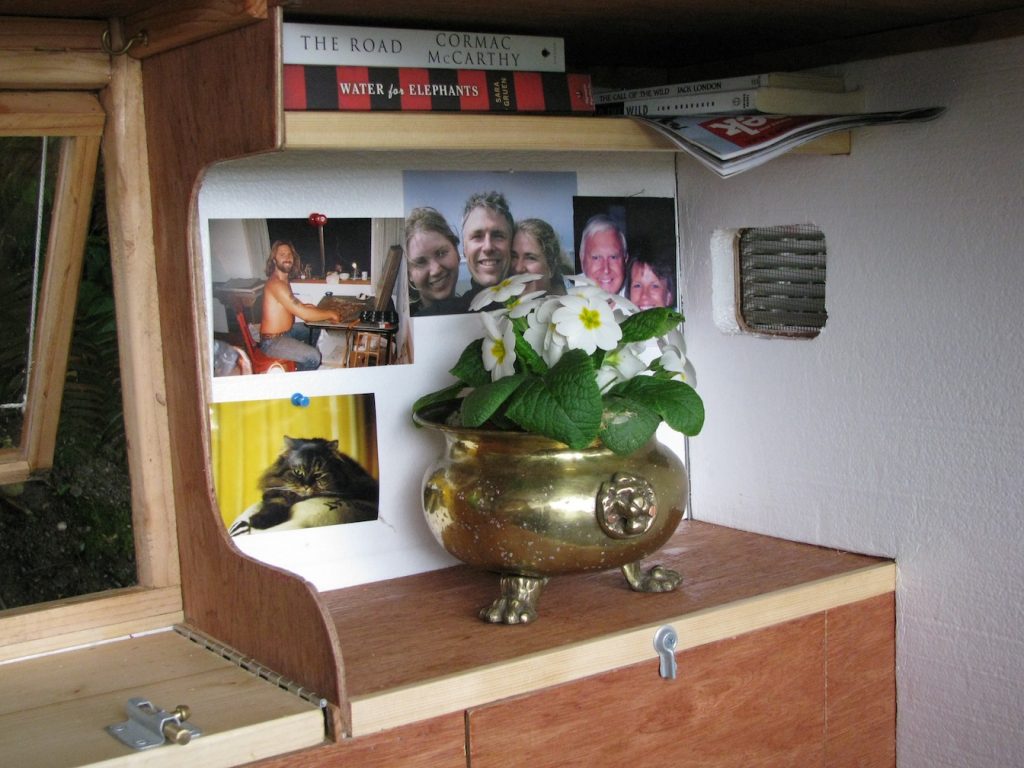
The library and flowers. Why not. Below is the dirty laundry storage area.
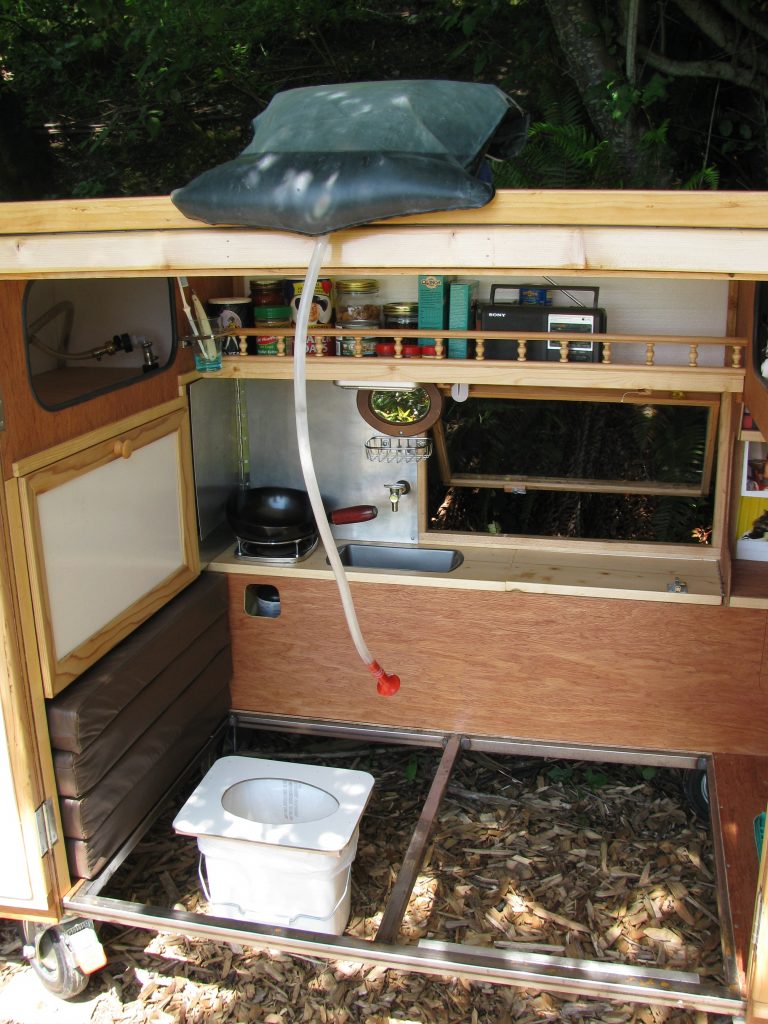
Here it is in shower or toilet mode. Just close the doors for privacy. Notice how the cushions tuck nicely in the corner.
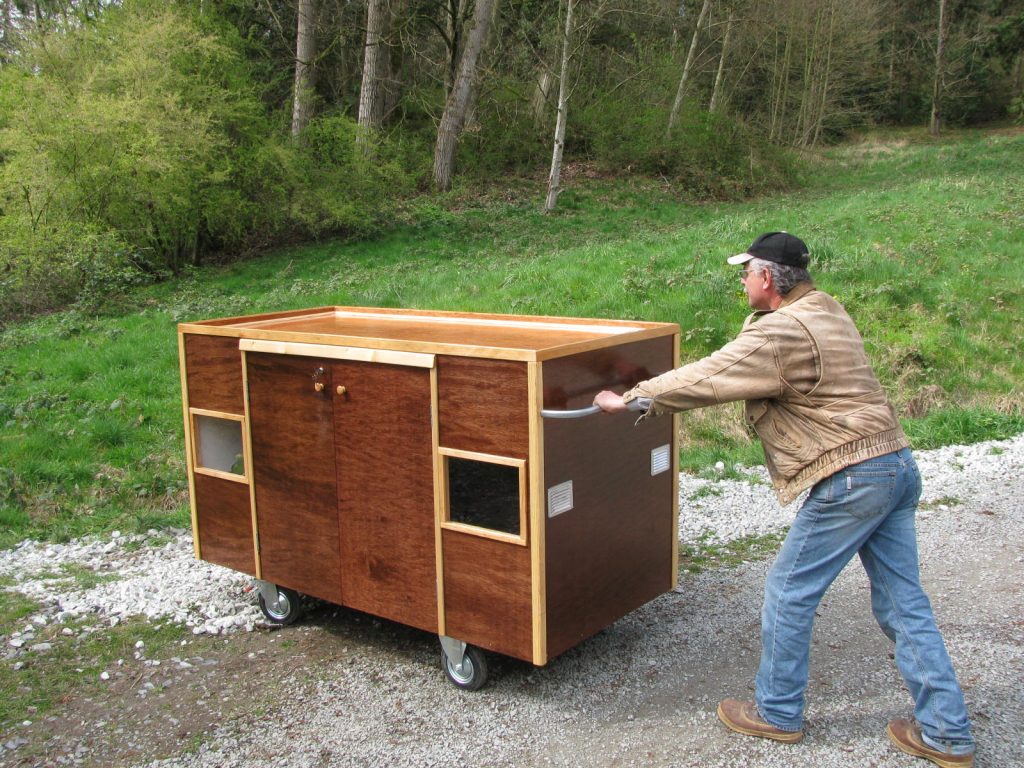
So that was my homeless push cart. It sat outside for many years before succumbing to the elements. For a homeless individual it was admittedly
impractical, especially with a dry weight of 200 pounds. Good luck pushing it up a hill. I still think a fluted plastic version could eliminate a lot of weight.
I could see a similar version as a small truck cab camper or as a motorcycle camper. In all I enjoyed playing with the idea of cramming as much stuff
in as small of an area as possible. I might do it again soon. It was a fun project.